Inflatable kayaks are becoming more and more popular because they are lighter and they are really easy to transport compared to non-inflatable ones. If you just bought a brand new kayak, it is important that you inspect it, assemble it, and get familiar with your new gear because this will save you time when you are already at the launch site.
To properly inflate a kayak, you first have to unfold and lay it out then inflate the floor chamber using an air pump. Then, fill each wall chamber, and lastly, inflate the seats before inserting the skeg. While this may seem easy, there are more factors you need to know about these steps. We recommend that you read along to learn more about how to properly inflate a kayak.
Finding the perfect equipment can be quite challenging sometimes. If you want to have a good experience with the activity that you want to try, you need to have good equipment. When it comes to kayaking, you have two choices when it comes to the kayak that you want to ride. Whether you’re looking for the best inflatable kayak or the best hard-shell kayak, we’ve got you covered.
First step: unfold and lay out the kayak
-
Where to lay out the kayak?
Lay down the inflatable kayak on a flat surface or a level surface that is convenient to your launch site. Make sure it is free of hazards that may damage the kayak. Do not lay your kayak on a surface where it’s too hot to stand barefoot.
Second step: arranging the kayak for inflation
- Unpack and unroll the inflatable kayak on a level surface.
- Unfold the sides if they are folded toward the middle.
- Lay out the seats that need to be inflated.
- Locate all valves.
- For whitewater kayaking, remove the caps from the kayak’s self-bailing drains.
- For flatwater paddling, screw the caps tightly.
- Keep your pump and the non-inflatable parts near you for assembly.
Third step: inflating your kayak
-
Three kinds of kayak pumps
-
-
Foot pump
This pump will allow you to inflate your kayak without having to bend over, and to easily switch to your other foot if your foot gets tired. The disadvantage of using a foot pump is that it may get jammed with sand or can be damaged when excessive force is applied. But, it is a reliable pump that you can use to inflate in just 5 to 8 minutes, depending on the pumping rate.
-
-
-
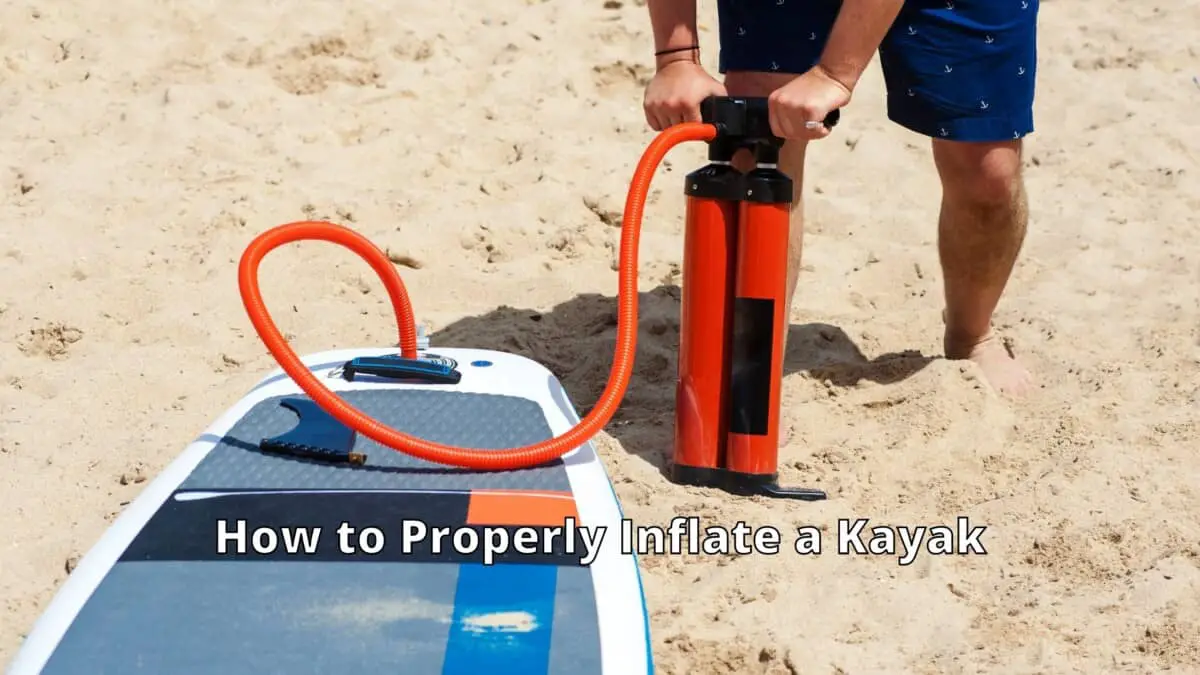
Hand pump
A hand pump requires you to kneel over or bend your back to pump the kayak. This means you need to exert more effort. However, certain hand pumps have high volume and high pressure modes, so you can set it correctly. This will allow you to inflate a kayak in 5-8 minutes as well, depending on the pumping rate.
-
-
-
Electric pump
Using an electric pump is the easiest and fastest way to inflate a kayak. It requires minimal effort since you only need to set up the kayak and the motor of the pump will do the hard work for you. However, an electric pump may not be portable and has to be powered with electricity. There are also several ways to power your electric pump.
-
-
Inflation level
Proper inflation will let you achieve the maximum performance of the kayak, so it is important to check the instruction manual for the recommended PSI level of each chamber. There is no standard PSI for all kayaks, but levels between 1.1 and 3.2 are common for the floor and the walls. Use an air gauge or an inflation monitor that is provided to check if you already reached the recommended level.
-
Inflate the floor chamber
Most inflatable kayaks have a total of three air chambers, which include one on the floor and two on the side walls.
Inflate the floor air chamber first because this will set the base for the walls that will be inflated next. Put the correct valve adapter on your air pump and fully inflate the floor chamber. Remember not to inflate the other chambers first. Once the floor is fully inflated, detach your pump and close the air valve.
-
Fill each wall chamber up to 60-70%
The next step is filling the walls of the kayak. Partially inflate each wall up to 60 to 70%, only to avoid warping.
-
Check the position of the floor chamber
After partially filling each wall, check whether the floor stays positioned at the center. If not, move the walls slightly to make sure everything is aligned.
-
Fill each wall fully
Start filling the walls again until they reach 100% or full inflation, then close the air valves.
TIP: It is important that you check if all the air valves are tightly closed.
-
Inflate the seats
If you have inflatable seats, position and inflate them in your kayak, according to the instruction manual.
-
Insert the skeg(s)
If your kayak has skegs, insert them. If you prefer, you can do this step on the water to avoid accidentally damaging the skeg or the kayak.
Getting in and out of your kayak without getting wet is a skill that most people want to acquire. It seems impossible because a kayak is unstable and can tip over if you step into or out of it the wrong way but it’s not impossible at all. Check out our 10 tips for getting into a kayak without getting wet to learn this skill.
Fourth step: final check
To avoid any damages or accidents, check your inflated kayak before heading out onto the water.
- For good tracking performance, you have to check the kayak’s floor and make sure it is seated properly.
- For optimum stability, make sure that the kayak’s side tubes are inflated evenly.
- Check that all the valves are closed tightly.
- Check the self-bailing drain plugs and make sure they are removed for whitewater paddling or properly in place for flatwater.
- Double-check all the seats to make sure they are positioned and will provide you comfort.
- Review all your gear and check your paddle and PFD.
- Evenly distribute your gear in the kayak and make sure it is stable.
FAQs
What is the recommended air pressure for my inflatable kayaks?
The recommended air pressure for the walls of an inflatable kayak is between 1.5 to 2.5 PSI, but it varies from a kayak to another. Therefore, to maximize its performance, you should check the instruction manual for your specific model.
The recommended air pressure for the floor of the kayak also varies widely, but it is mostly between 1.5 to 2.5 PSI. For drop-stitch air floor, the recommended air pressure may be as high as 15 PSI, but always check the instruction manual included with the kayak.
How long does it take to fully inflate a kayak?
Inflating a kayak takes about 5 to 8 minutes depending on the kind of pump you use. Inflating a kayak using a manual or foot pump will take 5-8 minutes, against 2 minutes when using an electric pump.
Choosing the right equipment is important for any kind of activity. When it comes to kayaking, the challenge that most people encounter is trying to figure out the best kayak size, more specifically, its length. To help you with this situation, we created a guide on how to figure out what size kayak you need for your height.
Conclusion
One of the first things that you have to do when you’re starting a new hobby is familiarizing yourself with the equipment that you will be using. If you need to set them up before you can use them, we recommend that you try doing this at home first rather than when you’re actually going to need it. This will save you some time and prevent you from getting stressed out as well.
If you’re choosing an inflatable kayak as your kayak of choice, you have to practice inflating it at home first before you go on your trip. This will help you be more familiar with your gear which will allow you to set it up faster during your trip. Inflating it beforehand will also allow you to check for damages or faults that may affect your activities.
We hope that the information that we shared will be able to help you in setting up your kayak. Just keep the tips that we shared in mind when you’re practicing at home and during your trip proper as well so that you’ll have a stress-free start to your kayaking adventure.