Climbing skins are strips that typically attach to the bottom of skis, specifically nordic, alpine touring, or randonnée skis. These are designed to be attached on uphill travel to help you ascend snowy terrains quickly and smoothly, and then to be detached for skiing downhill. Not all skins need to be trimmed, because there are brands that offer tailor-made skins to fit certain models perfectly. But there are skins that have to be trimmed to adjust both their lengths and widths.
To trim climbing skins, you have to attach the skin first to be able to cut it to the correct length, then cut along the edges to remove any excess skin.
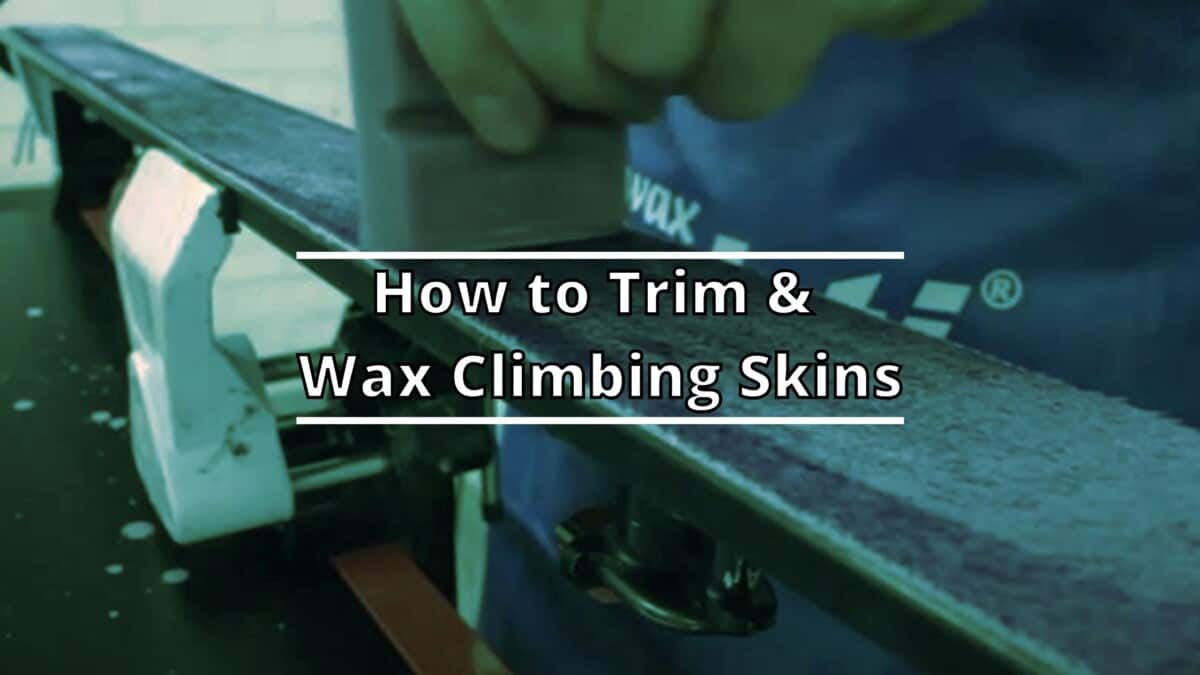
If you want to make your skins work better for long-term use, you also have to wax them to improve glide, and keep snow from sticking to it. To wax climbing skins, you can start by using the wax you usually use on your skis, and apply it by rubbing the wax directly onto the skin, then repeat the process if needed.
For more information and tips on how to properly trim and wax your climbing skins, read along.
Climbing skins may be one of the most overlooked pieces of equipment in a skiing setup. They are essential for travelling in the backcountry because they allow you climb up hills with the skis on your feet. If you’re not sure about which climbing skins to get, check out our guide on how to choose climbing skins to know which one is the best for you.
Types of climbing skins
-
Pre-cut climbing skins
These are climbing skins that are tailor-made to perfectly fit a specific ski model. This is common with splitboards and backcountry skis.
-
Trim-to-fit climbing skins
When you purchase them, these climbing skins do not match your skis yet. Thus, they need to be trimmed in both directions to adjust the length and width, so that they can fit the skis perfectly.
How to trim climbing skins
- Hook the tip, and attach the climbing skin to the ski. It should be centered.
- Cut the skin to the right length, following the manufacturer’s instructions, and if the hardware is not pre-installed.
- After cutting it to the right length, adjust the tail hardware, and it should be tight against the entire base.
- Make sure the skin is fully attached with its tip and tail hardware engaged.
- Cut along the edges, from tip to tail, while pressing firmly and evenly.
- Work in one long smooth cut, so that you can avoid wavy edges.
Types of cutters
Non-offset cutter
- When using this type of cutter, you need to move the climbing skin around in between cuts, so that you end up with exposed edges.
- For the first cut, you have to set up the skin roughly 2mm off the center of the ski, then cut along the overhanging side.
- For the second cut, move the skin, so you can see the metal edge and the other 2mm width on the side you have just cut.
- Cut along the overhanging side here too.
Offset cutter
- For offset cutters, the process mentioned above is not necessary.
- Just center the skin on the ski, and cut both sides for a perfectly tailored skin that provides full coverage and exposed edges.
If you got your backcountry setup and you’re already signed up for an avalanche course, all you’ve got to do now is figure out how to travel up the hill. Learning how to skin using your skis will be your ticket to exploring the backcountry. So, how do you skin? Read our article to learn more!
Tips on trimming climbing skins
- Fit them to the right length.
- Leave your edges exposed to give you good grip.
- If the climbing skins are too loose, they can fall off and get snowy, which means they will not stick to the bases.
- For Black Diamond Skins, you have to attach the tip hardware, and cut a nice tapered shape from the front contact point of the ski to the tip hardware.
- It is best to have a ski vice to put your ski in when trimming, to allow you to use both hands for a smooth and consistent pressure application.
- If using offset cutters, start cutting the first quarter inch or so with a knife or razor blade to give the cutter a slot to bite into.
- If you end up with a poorly trimmed climbing skin, you can smooth it out by re-trimming it with an X-acto knife and a metal straightedge. Do this on a cutting board or a smooth, clean, and hard surface.
How to wax climbing skins
- Use the wax that you usually use for your skis.
- Put your skins on your skis, and lay them on a ski vice or on any surface that can support the tip and tail. Skis needs to be leveled with bases facing up.
- Make sure you have a clean, non-porous table surface.
- Apply the wax by rubbing it directly onto the skin in both directions.
- Preheat your wax iron, typically between 248°F and 284°F, or 130°C to 140°C.
- Iron the surface of the skin, just like you would when waxing your ski bases.
- Iron from tip to tail.
- Keep the iron moving at all times at a speed of 1-2 inches per second.
- You can repeat the process if the skins need more wax. Rub the wax directly onto the warm skins, and heat again using the iron.
- Let the skins cool down.
- When the wax has firmed up, brush it from tip to tail with a coarse nylon brush, making sure the fibers are lined up and smooth.
Tips on waxing climbing skins
- Use a non-fluorinated or a low-fluoro wax.
- Choose the right wax that fits the conditions you often ski in.
- Do not use a brass or bronze brush, as it may damage the climbing skin plush.
- You can use a mid-range wax for all conditions.
- A low-fluoro wax can make skins more water-repellent.
- Rub the wax until the plush is coated evenly.
- You should notice that the color of the climbing skin plush gets a bit paler.
- If your iron’s temperature is too hot, you will notice that the skin will return to its usual color.
- Make sure your iron is not too hot, because it can burn the plush.
How to care for climbing skins
- Keep the climbing skins’ glue off of dirt, snow, hut floors, carpet, pet hair, and pine needles, because these will shorten the life of your skin’s glue.
- Run the skin’s glue side across the edge of your ski if it becomes covered with snow.
- In extremely cold temperatures, keep the climbing skins warm by stashing them between your jacket layers. This will keep the glue working and will reduce snow or ice buildup.
- In wet snow conditions, treat your climbing skins with wax, preferably with a waterproofing treatment.
- Always hang and dry your climbing skins at the end of a ski day, just like you would do with your clothes and boot liners.
- Hang your climbing skins in a dust- and dirt-free area, and away from a direct source of heat and from high-traffic areas.
Enjoying activities in the backcountry always comes with a risk. In winter, one of the things that you have to look out for is an avalanche. You can prepare items such as avalanche airbags and avalanche beacons as a precaution, but we highly suggest that you take an avalanche course before heading out.
FAQs
How should climbing skins fit?
Some climbing skins have size options to match the length of your skis, so you need to choose a pair that matches your skis, or else you won’t be able to adjust the length when trimming.
In the event that you cannot find the perfect size for your skis model, it is best to go slightly narrower. If you have the right width, you need to trim it down to the right length, attach the tip and tail hardware, and trim the sides to match your skis’ shape.
A general principle for purchasing climbing skins is to choose a pair that is approximately 100mm narrower than your tips’ dimensions. Then, trim them, exposing the metal edge. Check our guide on how to choose climbing skins here.
How long do climbing skins last?
Quality skins will last for 500 days of use or more, but low-quality climbing skins barely last 50 days of usage.
How often can I wax climbing skins?
It is recommended to wax your climbing skins at the start of each season, before a week-long trip, or even daily when skiing in the spring season. Liquid waxes can save you energy and make them glide better.
How do I store my climbing skins?
Store your climbing skins by folding them glue to glue, then tuck them into their bag for short-term storage. For long-term storage, on the other hand, use glue saver or cheat sheets, and store your skins in a cool, dry place that is also away from direct heat.
Conclusion
Depending on the kind of skiing that you will be doing, you may need to climb uphill while wearing your skis. This is definitely a challenge because skis are made to be used on downward slopes and they are quite difficult to walk in as well, especially on an incline. Luckily, there are gears made to make this process easier.
Climbing uphill with climbing skins is much easier than climbing with bare skis. They are definitely worth investing in since they will make your skiing experience much more convenient. If you decide to get these for yourself, do remember that like any other piece of equipment, they need to be maintained in order for them to function properly and last for a long time.